After the wiring came the software side of things. At first I was not very keen on using QMK. I wanted to just download a hex file and flash it on to the board and be done with it. That is difficult due to a few things. There are so many ways the keyboard can be wired and finding an exact hex file requires you to wire your keyboard just as they did. Since I replaced the Teensy with Promicros, I was in a no mans land. There weren’t any guides for using promicros that didn’t use QMK. So I was forced in to QMK and with great results.
QMK makes designing the firmware for your keyboard a breeze. Essentially it is a set of predefined config files that you edit to your liking. It has all the libraries for anything you can imagine doing with a keyboard using what you specify in the config files. Once you compile, it produces a hex file matching your keyboard. I must admit this was one of the instances where being a Linux user paid off. It was a simple matter to set up the build environment under Linux.
First step was to install QMK build tools as described here. After I installed all these I followed the instructions. To my dismay the promicros just wouldn’t show up! I was afraid I burned a second set of boards. Tried every trick but nothing seemed to work. Gave up, went to bed at 4AM. Next morning I realized the USB cable I used to connect the boards was a bit flimsy. I had one of those power cables without any data connections. Replaced the cable and I was able to get the device recognized.
qmk flash --keyboard handwired/dactyl_promicro --keymap defaultRunning the above command would get me as far as attempting to flash, but nothing would happen. A bit of searching revealed that avrdude was not installed. It was in ubuntu repositories, so a simple apt request solved that problem. I was off to the races!
Only not so fast. First problem I noticed was that the horizontal order of keys on the right hand side was reversed. So P would print U and vice versa… Same with J and L, 0 and 8… I opened the dactyl_promicro.h to edit the matrix configuration (File is under qmk_firmware/keyboards/handwired/dactyl_promicro). On the right hand side, I configured the column numbers to go from 5 to 0 (it was going from 0 to 5).
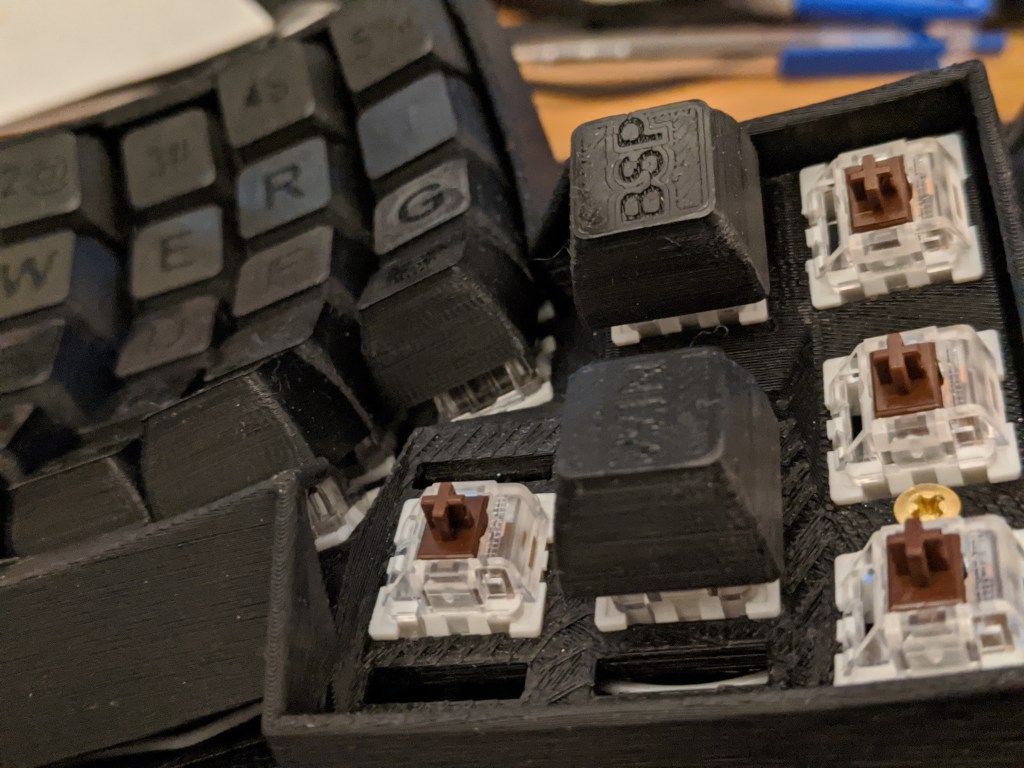
Then I noticed one of the keys wouldn’t work no matter what and another was iffy to say the least. Fixed a loose solder, changed the direction of a misplaced diode and that was that. Now the problem was the keyboard layout was a bit too. . . Radical. Edited the keymap until I found what I liked. I even named it Irfan.
qmk flash --keyboard handwired/dactyl_promicro --keymap IrfanWhat you need to do is to flash the same firmware on both promicros. Under keymap folder in config.h file there is a setting that specifies which half of the keyboard will have the USB plugged in. By default it is the right half. So USB cable is how the firmware knows which half is which.
The satisfaction of seeing the keyboard flash was well worth it. I even wrote my first blog post with it (it took twice as long) and enjoyed every second of it. I still need to 3D print some more keycaps but I think I am in love with my new keyboard.

Leave a comment