Tradfri Endless Battery Hack

I inherited some IKEA smart home devices when we bought this house. While the convenience is undeniable, the reliance on button batteries in Tradfri controllers became a significant issue. Over the years, I went through enough of them to feel guilty about the battery waste I was producing.

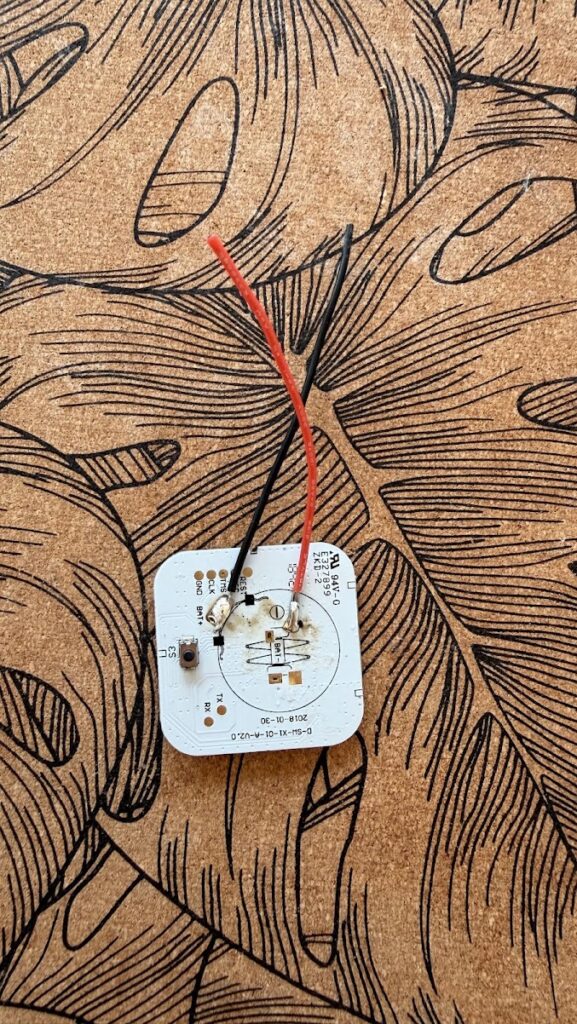
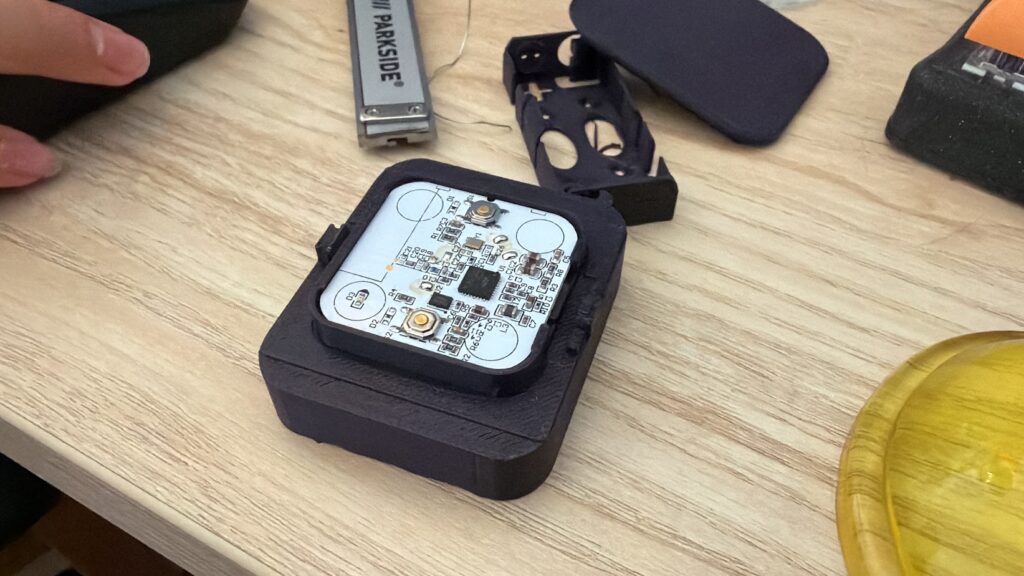
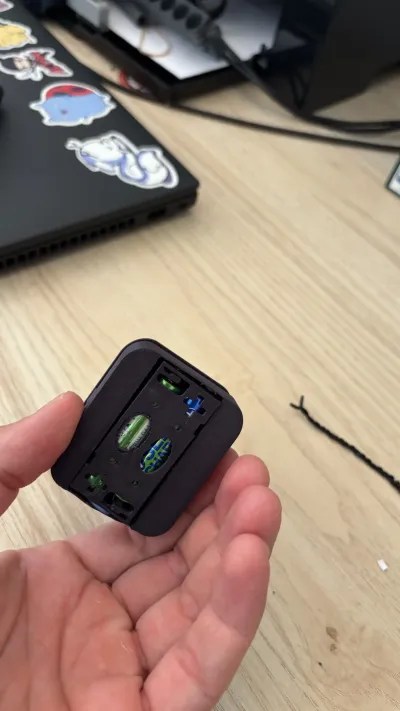
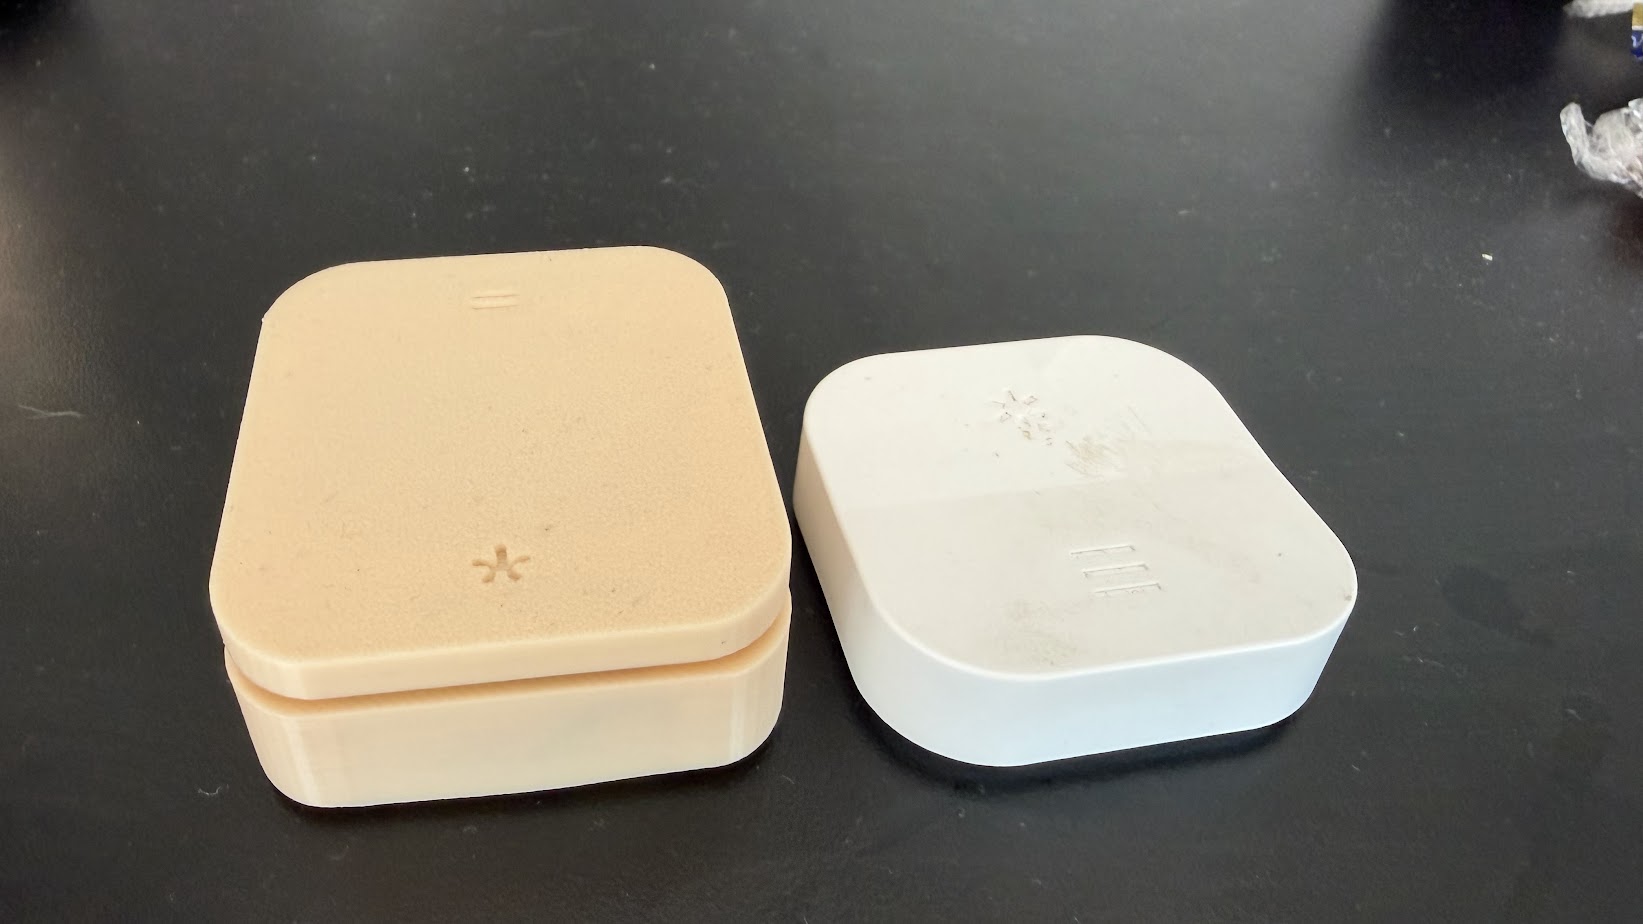
So I sat down and made a mod for the unit. I remixed a battery cover and an wall plate mount, modifying the latter to reduce thickness. The result is a controller not significantly larger than the original while using two rechargeable AAA batteries. Lasting much longer than those button batteries, and allowing you to recharge.
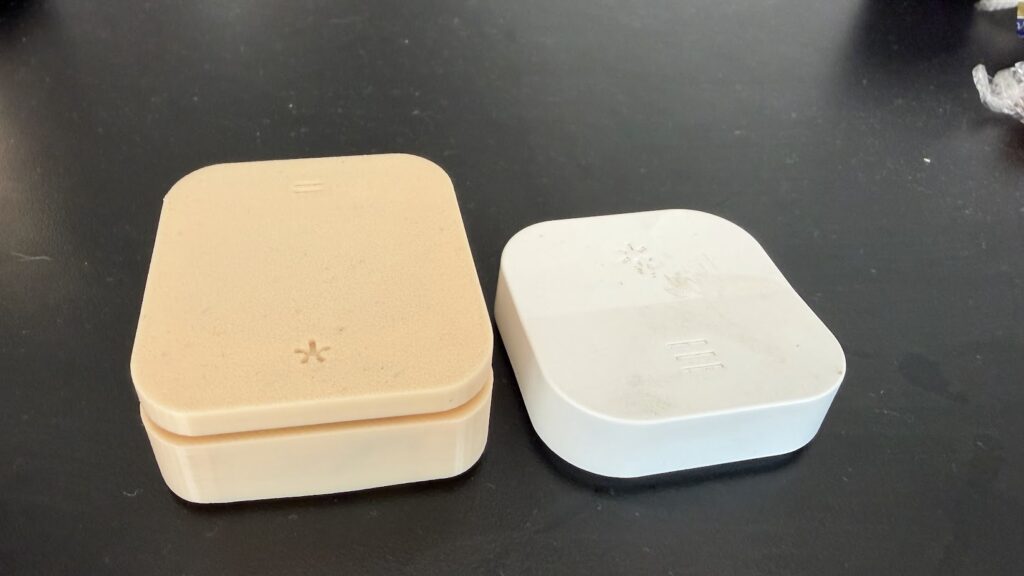
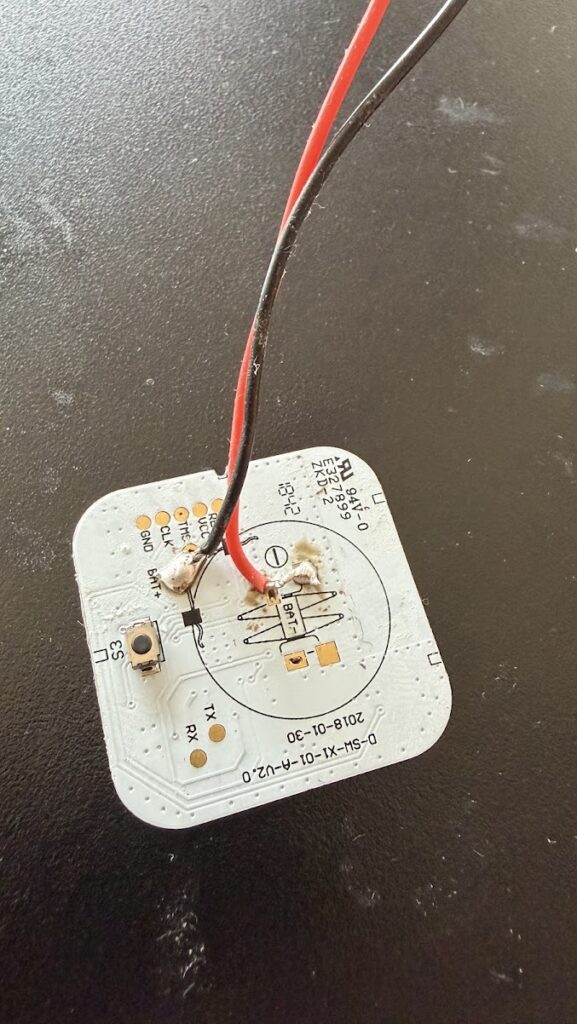
You can find the 3D model here. There are two versions; V3 is slightly slimmer but requires you to remove the battery leads. I have described the process there, but the gist of it is this:

  1. Remove the circuit board from the Tradfri body.
  2. Solder two wires to the battery leads on the circuit board.
  3. Feed the wires through the hole in the 3D-printed body.
  4. Insert the circuit board into the 3D-printed body, making sure to align the reset button with the hole.
  5. Wire the AAA battery pack.
  6. Insert the button cover.

I really benefited from the open licenses here. The existence of the battery pack and the wall plate under permissive licenses made it trivial to reach the result.

Similar Posts

  • | |

    New Keyboard: Welcome Charybdis

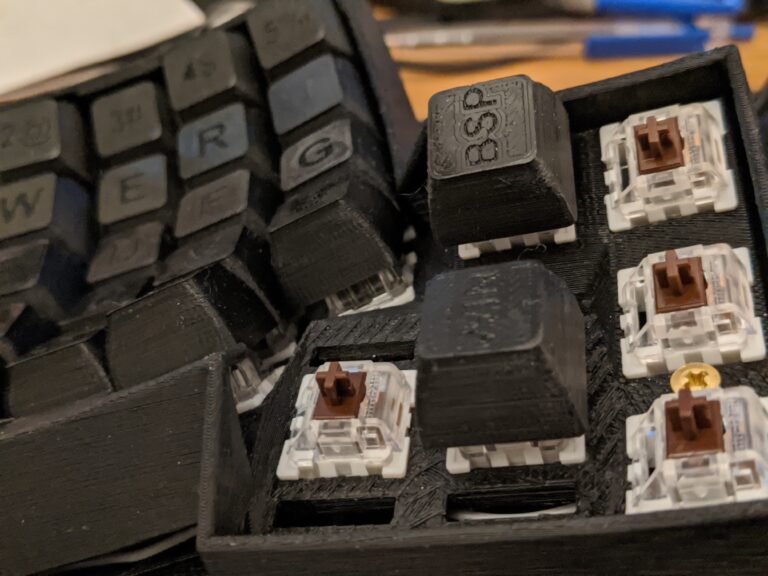
    After building the dactyl, I took a long break from building keyboards. In that time I noticed, no matter how awesome dactyl was, I still needed to lift my hand up to use the mouse. So I started dreaming about a keyboard with an integrated trackball. My dreams came true when I ran into Charybdis.

  • | |

    Building the Dactyl – Part 2 – Wiring

    After the upper case and key switches were put together I started wiring. I started by following the guide on dactyl git repository but the lack of updates and details quickly drove the project in to the ground. My original intention was to minimize learning and just to blindly follow the guides. That attitude got…

  • |

    Painted the Summoner

    So tonight I painted the summoner. It was a relatively quick paint job. Begining to end less than 45 minutes, including the setup time for the paints, water and, palette. In this figurine I used lots of washes, and wet blending. It was also a trial for the object source lightning (OSL) as the staff…

  • | |

    Building the Dactyl – Part 3 – Flashing

    After the wiring came the software side of things. At first I was not very keen on using QMK. I wanted to just download a hex file and flash it on to the board and be done with it. That is difficult due to a few things. There are so many ways the keyboard can…

  • |

    Finished Painting the Zombies of Zombicide: Black Plague

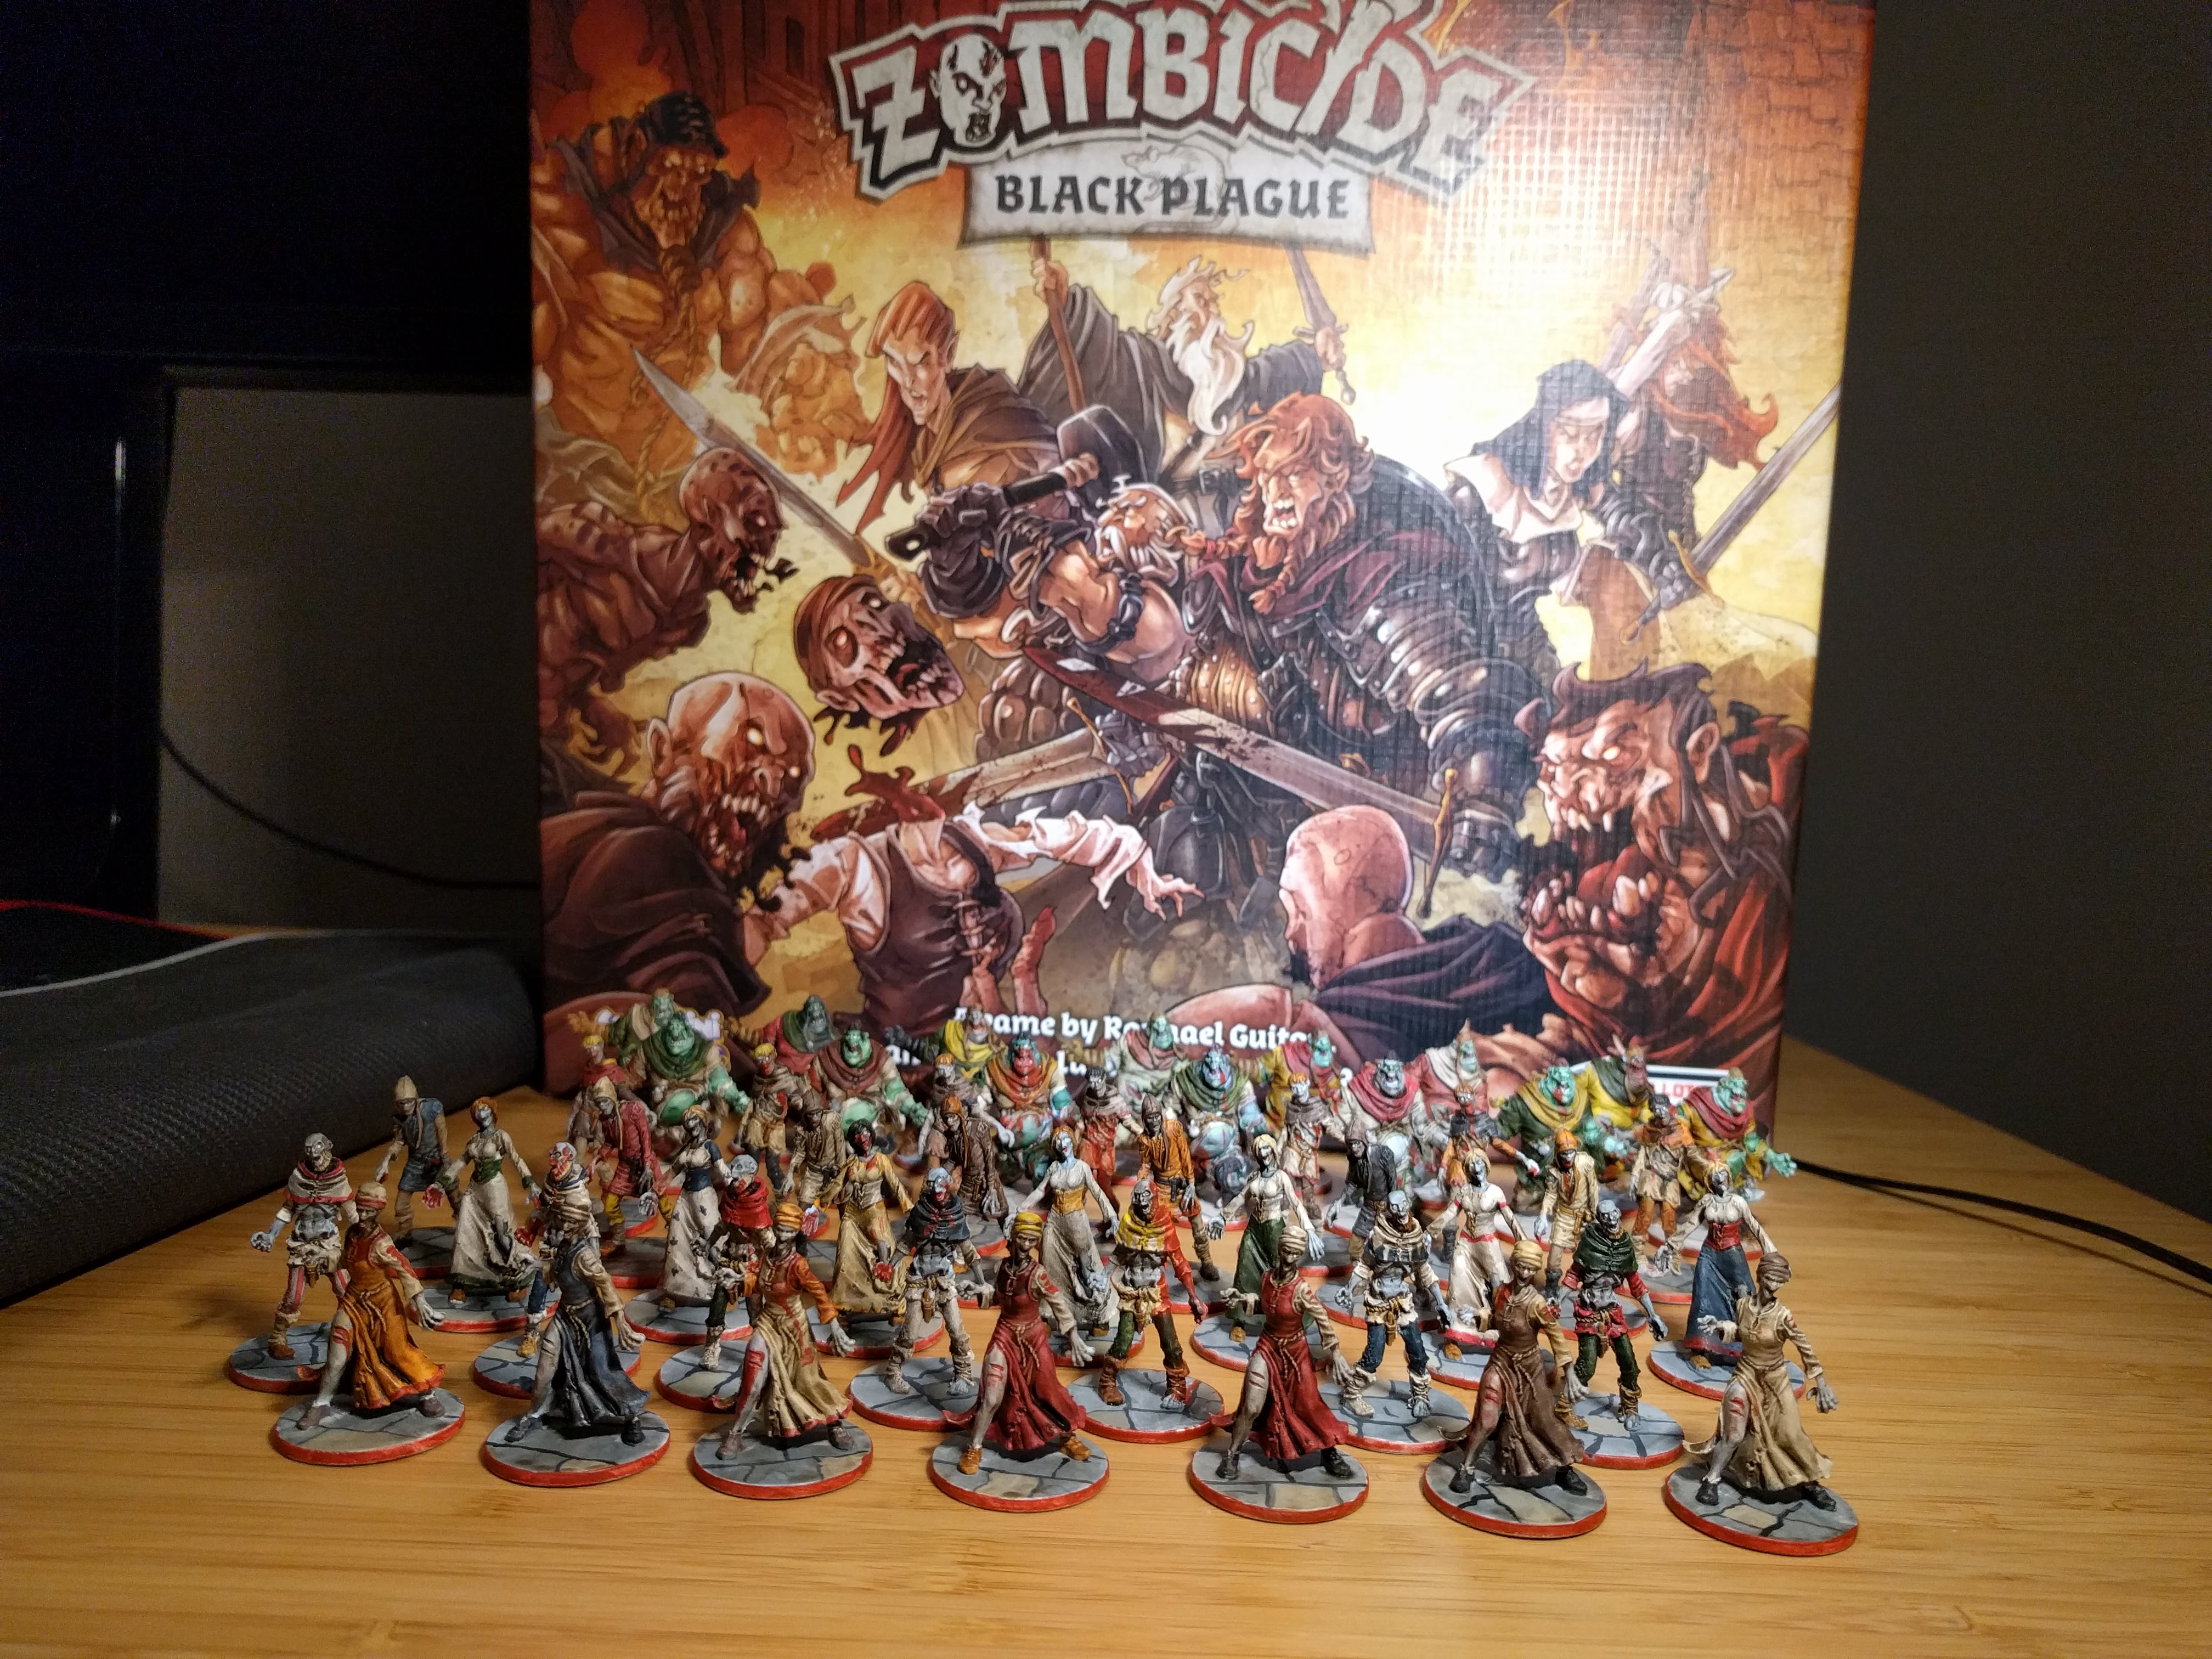
    I have been slowly working on the zombicide minis. Finally this week I finished painting the regular zombies and fatties. All that remains are the special infected and the heroes. I guess the game will be ready to play by summer.

  • | |

    Building a New Machine

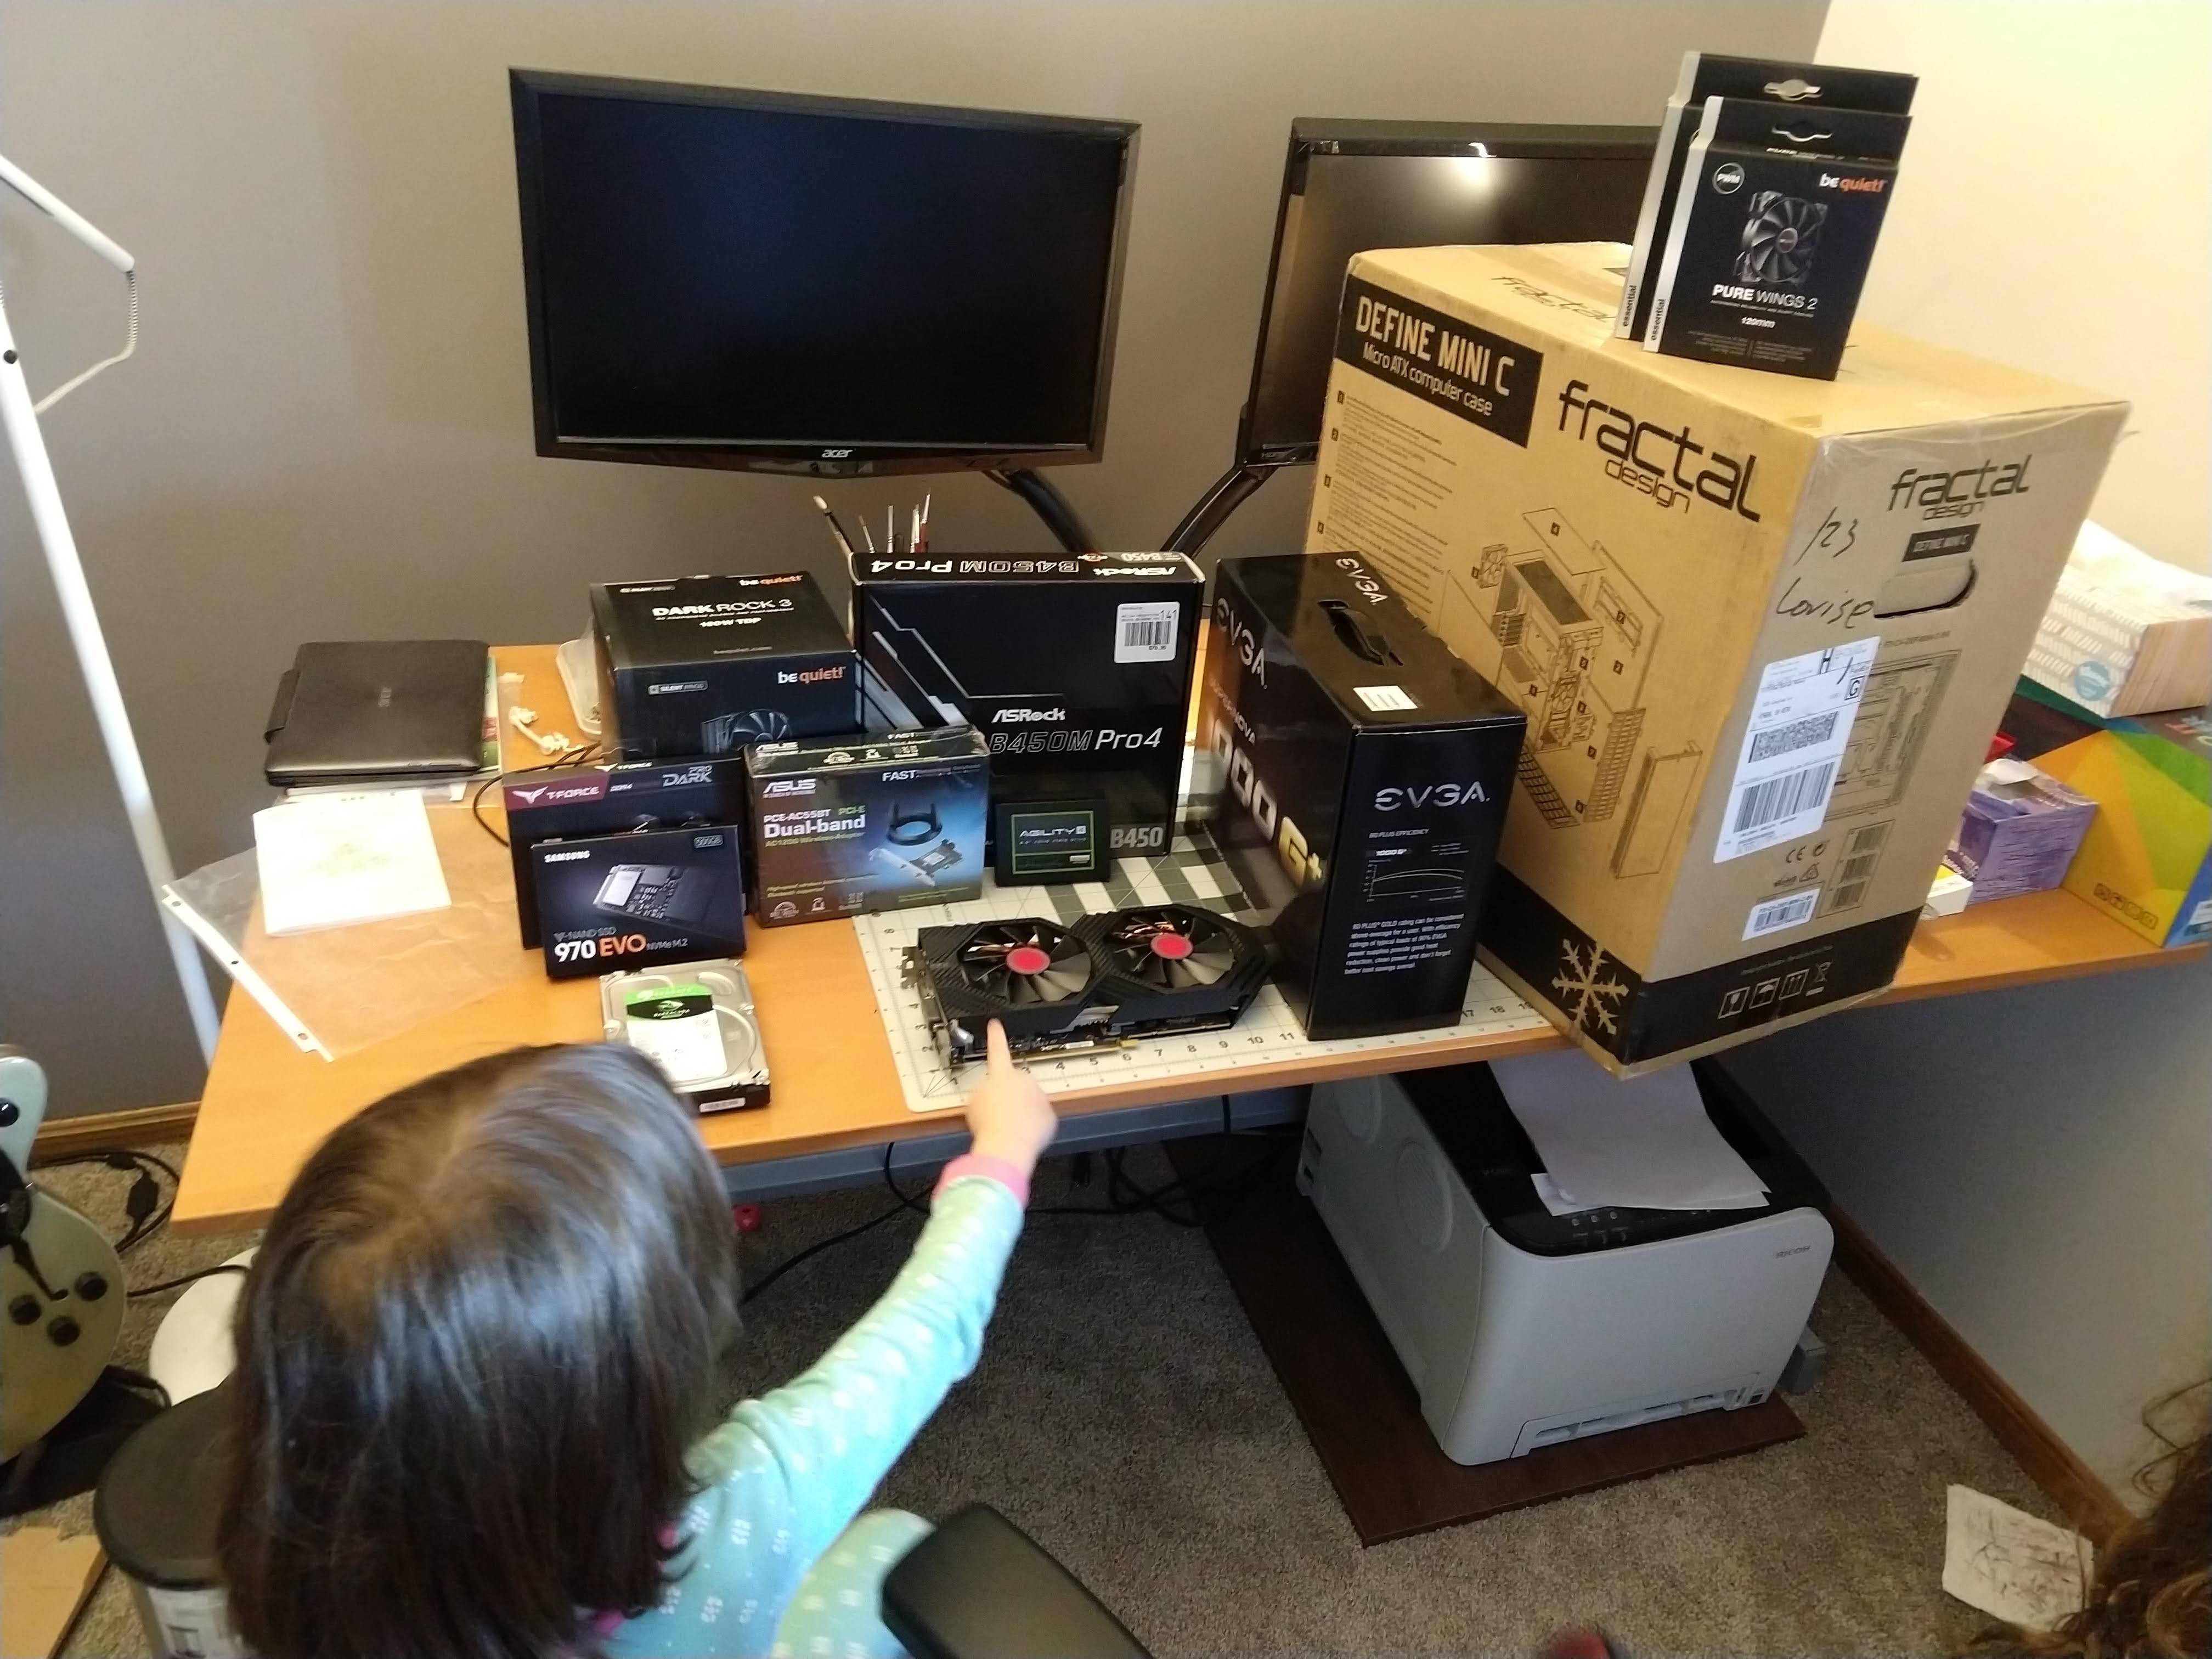
    I have been sniping parts for a while now, now finally with the Black Friday discounts, I was able to put together a new machine. Azade as always helped me put it together. I also snagged an Odyssey+ on the Samsung BF deal. The cable length is ridiculous, but the resolution is amazing. The only…

Leave a Reply

Your email address will not be published. Required fields are marked *